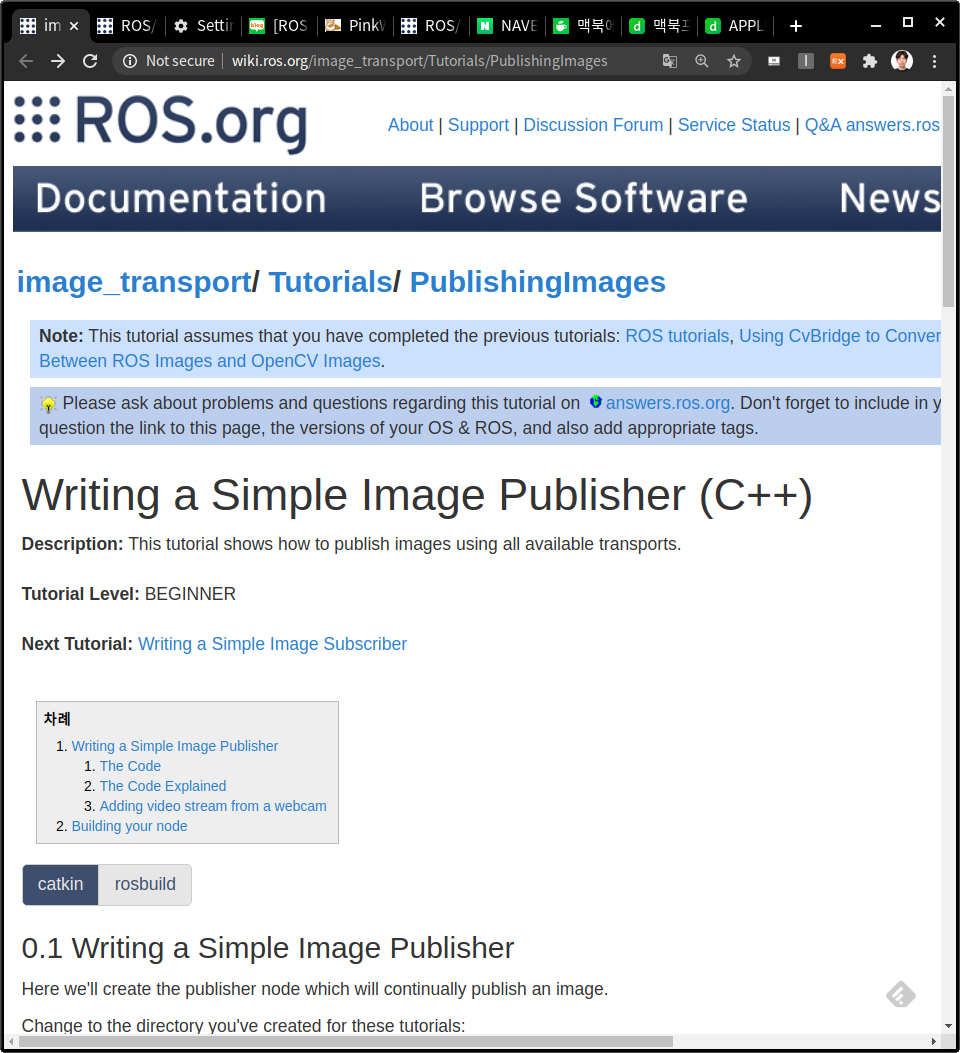
로스에서 이미지를 다루기 위해서는 퍼블리시 노드를 만드는 것이 여러모로 편리합니다. 이전 글 두개와 내용이 깊은 관계가 있으니 같이 읽어 보시는것을 추천합니다. 본 내용 관련 글은 Ros.org에 있는 데 따라 해 보며 내용을 정리해보도록 하겠습니다. 관련 링크는 본문 하단에 있습니다. :)
ROS 에서 이미지, 동영상 Publish 하기
Writing a simple image, video publisher in ROS.
1. 이미지 퍼블리싱
이미지를 끊임없이 퍼블리시하는 퍼블리셔 노드를 하나 만들겁니다. 본 튜토리얼을 진행할 디렉터리로 갑시다.
$ cd ~/image_transport_ws/
$ git clone https://github.com/ros-perception/image_common.git
$ mkdir src
$ ln -s `pwd`/image_common/image_transport/tutorial/ ./src/image_transport_tutorial
my_publisher.cpp의 코드의 구성
#include <ros/ros.h>
#include <image_transport/image_transport.h>
#include <opencv2/highgui/highgui.hpp>
#include <cv_bridge/cv_bridge.h>

int main(int argc, char** argv)
{
  ros::init(argc, argv, "image_publisher");
  ros::NodeHandle nh;
  image_transport::ImageTransport it(nh);
  image_transport::Publisher pub = it.advertise("camera/image", 1);

  cv::Mat image = cv::imread(argv[1], cv::IMREAD_COLOR);
  sensor_msgs::ImagePtr msg = cv_bridge::CvImage(std_msgs::Header(), "bgr8", image).toImageMsg();

  ros::Rate loop_rate(5);
  while (nh.ok()) {
    pub.publish(msg);
    ros::spinOnce();
    loop_rate.sleep();
  }
}
1.1 코드 브레이킹 : 쪼개서 코드 설명
image_transport::ImageTransport it(nh);
이미지 형태를 ROS형식에 맞추어 보내줘야 하기 때문에 변환하는 과정을 거친다.
image_transport::Publisher pub = it.advertise("camera/image", 1);주의깊게 보아야할것은 image_transport 구조체를 사용한다는 것이다. 본래 전의 글에서 String을 publish할때는 ros::Publisher 의 코드로 퍼블리시 하였던것과 차이가 있다.
sensor_msgs::ImagePtr msg = cv_bridge::CvImage(std_msgs::Header(), "bgr8", image).toImageMsg();
sensor_msgs구조체에 ImagePtr 변수를 사용하는데 이름은 msg 이다. 그 변수에 cv_bridge라는 ros와 opencv를 이어주는 역할의 구조체의 이미지를 이미지 메세지로 변환시켜 준다.
2. 웹캠에서 비디오 스트림 추가하기
#include <ros/ros.h>
#include <image_transport/image_transport.h>
#include <opencv2/highgui/highgui.hpp>
#include <cv_bridge/cv_bridge.h>
#include <sstream> // for converting the command line parameter to integer

int main(int argc, char** argv)
{
  // Check if video source has been passed as a parameter
  if(argv[1] == NULL) return 1;

  ros::init(argc, argv, "image_publisher");
  ros::NodeHandle nh;
  image_transport::ImageTransport it(nh);
  image_transport::Publisher pub = it.advertise("camera/image", 1);

  // Convert the passed as command line parameter index for the video device to an integer
  std::istringstream video_sourceCmd(argv[1]);
  int video_source;
  // Check if it is indeed a number
  if(!(video_sourceCmd >> video_source)) return 1;

  cv::VideoCapture cap(video_source);
  // Check if video device can be opened with the given index
  if(!cap.isOpened()) return 1;
  cv::Mat frame;
  sensor_msgs::ImagePtr msg;

  ros::Rate loop_rate(5);
  while (nh.ok()) {
    cap >> frame;
    // Check if grabbed frame is actually full with some content
    if(!frame.empty()) {
      msg = cv_bridge::CvImage(std_msgs::Header(), "bgr8", frame).toImageMsg();
      pub.publish(msg);
      cv::waitKey(1);
    }

    ros::spinOnce();
    loop_rate.sleep();
  }
}
2.1 코드 브레이킹 : 쪼개서 코드 설명
#include <sstream>
명령줄 변수를 인티져로 형변환하기 위한 라이브러리 추가
// Convert the passed as command line parameter index for the video device to an integer
std::istringstream video_sourceCmd(argv[1]);
int video_source;  // Check if it is indeed a number
if(!(video_sourceCmd >> video_source)) return 1;
비디오 파일을 인터져로 변환하고, 잘 변환되었는지 확인하는 구문
cv::VideoCapture cap(video_source);  // Check if video device can be opened with the given index
if(!cap.isOpened()) return 1;
비디오를 주어진 형에 담아지는지 확인하는 구문인데, 그 이유는 계속적으로 이미지가 변하는것과 같이 이미지와 같은 형식 즉, 일련의 이미지이기 때문이다.

<참고문헌 및 출처>
http://wiki.ros.org/image_transport/Tutorials/PublishingImages
image_transport/Tutorials/PublishingImages - ROS Wiki
Please ask about problems and questions regarding this tutorial on answers.ros.org. Don't forget to include in your question the link to this page, the versions of your OS & ROS, and also add appropriate tags. Writing a Simple Image Publisher (C++) Descrip
wiki.ros.org
'Autonomous Vehicle > ROS programming' 카테고리의 다른 글
| KITTI Data set 이용하여 ROSBAG 파일 만들기 (0) | 2020.08.26 |
|---|---|
| [ROS 시뮬레이터] Autonomous Car Simulator : Carla 환경 구성 및 설치 / 기본 예제 살펴보기 (trouble shooting failed) (1) | 2020.08.15 |
| ROS에서 간단한 Topic 생성하고 받아오기 (Publisher and Subscriber) (0) | 2020.08.12 |
| ROS에서 Package 빌드하기 (생성한 후) (0) | 2020.08.12 |
| ROS에서 Package 생성하기 (0) | 2020.08.12 |


